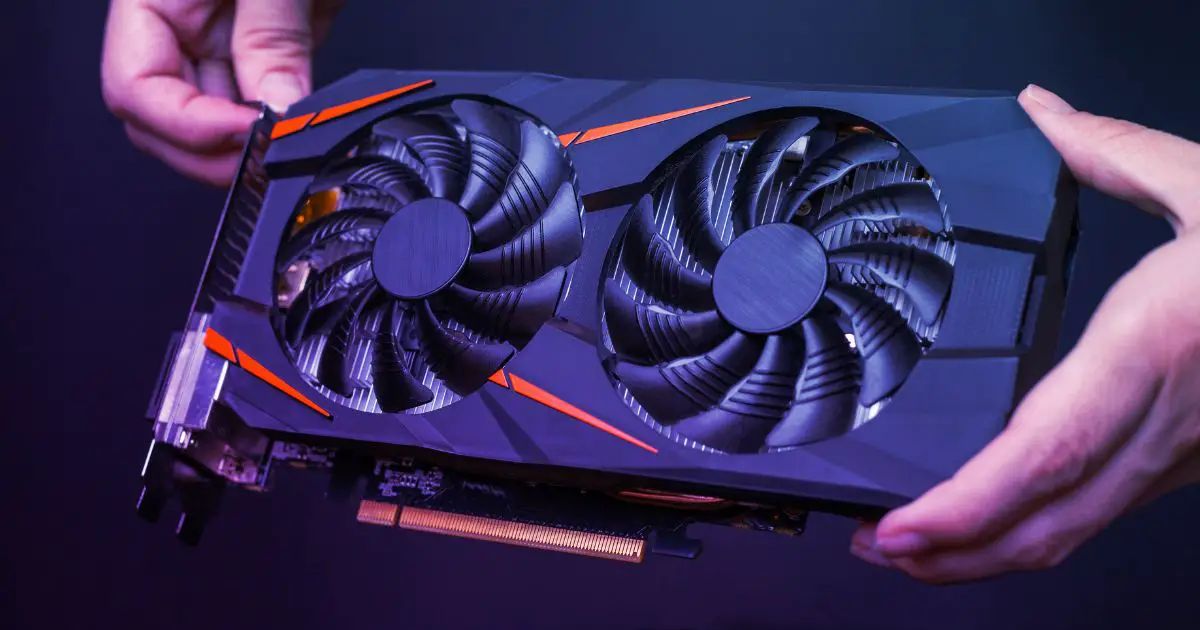
Graphic cards are an essential part of computers that enable stunning visuals. Over time, cards become outdated, impacting performance. Updating to the latest model ensures optimized gaming and computing for years. This guide walks through the full graphic card upgrade process.
Have you noticed games and apps running slower lately? Is it time for a graphics card upgrade? Going through the right steps makes replacement a breeze. Follow this complete guide to swap out your old card for a powerful new model without issues.
Many factors influence graphics card choices like resolution, frame rates, budget, and titles played. Research reviews and specs to pick the best upgrade for your needs. Proper installation methods and compatibility checking avoid problems down the road.
Check Your Computer’s Compatibility
Before selecting a new card, ensure it will physically fit and work with your system. Dimensions, ports, and power requirements must match your computer’s specifications. Note motherboard slot types like PCIe to confirm compatibility. Checking these basics upfront sidesteps potential integration hassles later on. Check Graphic Cards: It’s important to thoroughly inspect your existing graphics card for any signs of damage or overheating before upgrading. This will help determine if a new card is indeed needed or if your current one can be reused after cleaning and a new thermal paste is applied.
Compatibility also involves power supply wattage and available connectors. Low-power cards require at least 400W, mid-range 600W, and high-end 800W or more. Verify at least one 8-pin PCIe power cable compatibility too for high-performance models. Avoid buying more graphics muscle than your system can handle.
Verify Motherboard Specifications
The motherboard PCIe slot must align with the new card. Most use PCIe 3.0 which supports all current models, while older boards may require PCIe 2.0 cards. Referencing motherboard documentation prevents graphical glitches from slot mismatches.
Check Power Supply Wattage
Wattage determines how much power components receive. Use a PSU calculator to check if your existing unit provides adequate amps on the 12V rail for the new card. Insufficient wattage causes system instabilities, and crashes and may damage components over time.
Confirm Case/Chassis Fit
Measure card dimensions and your case interior. Ensure ample clearance from other components and proper airflow. Consider upgrading to a larger chassis if needed to prevent overheating from a tight card squeeze. Physical fitment issues require alternate housing options.
Research the Latest Graphics Card Options
- NVIDIA RTX 3000 series and AMD RX 6000 series for the latest and greatest 4K gaming
- GTX 1600/RTX 2060 to replace aging cards for 1080p gaming
- Check VRAM for textures, ray tracing support, and prices
- Consider bundled games, coolers and factory overclocks
- Read average benchmarks for targeted fps at the intended resolution
Install the New Card and Remove the Old
To install the new card, shut down the system and fully discharge static electricity by touching bare metal on the computer chassis. In the device manager, uninstall drivers for the old graphics card. Open the computer case and remove any screws securing the old card. Disconnect power cables and gently wiggle them free from the PCIe slot. Retain any packaging for the new card.
With anti-static precautions in place, insert the new card fully into the motherboard’s PCIe slot. Its bracket should align with a free expansion slot cover on the back of the computer case. Secure it down with retained screws then reconnect the necessary power cables from the power supply. Close the computer case and power back on.
ESD Protect Yourself
Static discharge can damage sensitive electronic components. Ground yourself by touching bare metal on the computer case before handling parts. Work on an anti-static mat when possible and avoid clothing that can generate static electricity.
Uninstall Old Drivers
The device manager finds currently installed display drivers. Select the old card and click Uninstall to remove outdated software before physically removing the card. This avoids driver conflicts during the new card setup process.
Disconnect Power and Remove the Old Card
Turn off and unplug the computer. Open the case and locate the power cables connected to the rear bracket of the old card. Safety unlatch and remove each cable before gently rocking and removing the card from its slot. Properly store or recycle the old components.
Ensure Your Power Supply is Adequate

The power supply must provide enough stable voltage to the graphics card under heavy loads. Use a PSU calculator and check the manufacturer’s recommended wattage. Consider upgrading if your current unit falls short. Examine available 6/8-pin PCIe power cables to ensure all card power connectors can be plugged in securely.
A power supply’s true capacity degrades over time, so an older unit may no longer handle a new high-end graphics card safely. Insufficient power causes random shutdowns, artifacts, and damage over prolonged use. Tests determine if upgrades like upgrading cabling or the entire PSU are needed for reliability. Proceed carefully to guarantee steady performance.
Update Graphics Card Drivers
New cards require the latest optimized drivers. Visit the manufacturer’s website and search by product model to download graphics card drivers. Run the installation file and follow the prompts to accept agreements and upgrade existing drivers.
Reboot after a successful driver update. Checking for driver updates periodically keeps performance high. New releases squish bugs, improve stability, and enable game optimizations. Automatic driver updates make it effortless to stay current on support without browser hunting.
Check for BIOS Update Requirements
| Motherboard Brand | Model | Required BIOS Version |
| Asus | ROG Strix B550-F Gaming (WiFi) | 1004 |
| MSI | MPG B550 Gaming Edge WiFi | 7C56vA7 |
| Gigabyte | B550 Aorus Elite AX V2 | F13 |
Some motherboards need a UEFI/BIOS firmware update for newer graphics card compatibility and resizing integrated graphics memory. Check support pages and update BIOS if needed with a USB drive and easy interface.
Install any Necessary Cables and Connectors
Most graphics cards use one or more 6/8-pin PCIe power connectors from the power supply in addition to the PCIe slot connection. Attach each firmly to the card and follow any instructions regarding cable routing.
Certain high-performance cards require dual 8-pin power inputs. Verify compatible modular PSU cables are clearly labeled to avoid damage. Once fully plugged in, seat the card snugly into its PCIe slot. Close the computer case, reconnect internal cables, and power up to test. Monitor temperatures if concerns arise with heavy loads and overclocking headroom.
Attach PCIe Power Connectors
Newer, more powerful graphics cards pull more power and need dedicated supplemental power inputs. Connect PCIe power cables firmly from the power supply into slots on the card edge for stable voltage delivery under heavy 3D loads.
Plug in Display Cable(s)
Using the correct video cable type like HDMI or DisplayPort, plug it from the card I/O bracket slots into your monitor. High refresh rates may require dual cable configurations. Ensure ports match and cables lock securely on both ends.
Secure Card in PCIe Slot
Snap the expansion slot bracket locks down on the rear I/O panel to hold the card firmly. Screw it into any case bracket screws for stability. Gently apply pressure while inserting to full seat contacts in the motherboard slot.
Run Benchmark Tests and Troubleshoot Issues

Fire up your favorite benchmarking software to analyze frame rates at different settings. Compare scores against reviews online. Monitor temperatures using HWInfo or similar. If any glitches appear, update drivers again or adjust overclocks to dial-in stability.
Troubleshooting starts with basic steps – reseating connections, verifying BIOS settings, and rebooting. Hardware issues require testing each component individually. Replace suspect parts if problems persist to isolate variables. Community help also resolves complex errors. Stable benchmarks prove a job well done!
FAQ’s
Can you update an old graphics card?
No, you cannot update the hardware of an old card. The best option is to replace it with a new graphics card.
How do I upgrade my GPU?
You need to physically remove the old graphics card and install a newer replacement card into your computer.
Do graphic cards update automatically?
No, graphic cards do not update automatically. You need to manually download and install the latest drivers from the manufacturer’s website.
Do graphics cards need updates?
Yes, it’s recommended to update graphics card drivers periodically. Driver updates fix issues, improve performance, and support new games/features. But the card hardware itself does not update.
Conclusion
Upgrading your graphics card is a smart way to extend the capabilities of your PC. Following the proper process ensures a smooth transition to enjoying improved game and application performance. Careful planning upfront and implementing each installation step avoids common pitfalls. Testing verifies successful optimization. With some research and diligent work installing your new card, you can breathe new life into visual experiences for years to come.
Whether you’re a casual gamer or a productivity professional, refreshing your graphics hardware unleashes your system’s potential. Updating your skills through this guide equips you to easily install future upgrades with confidence. Boosted power serves you well for enhanced creativity, work, and entertainment. May your computer continue to deliver stunning graphics!